 (832) 944-7663
Stop Roof Leaks Now: Tarping for Emergency Repairs
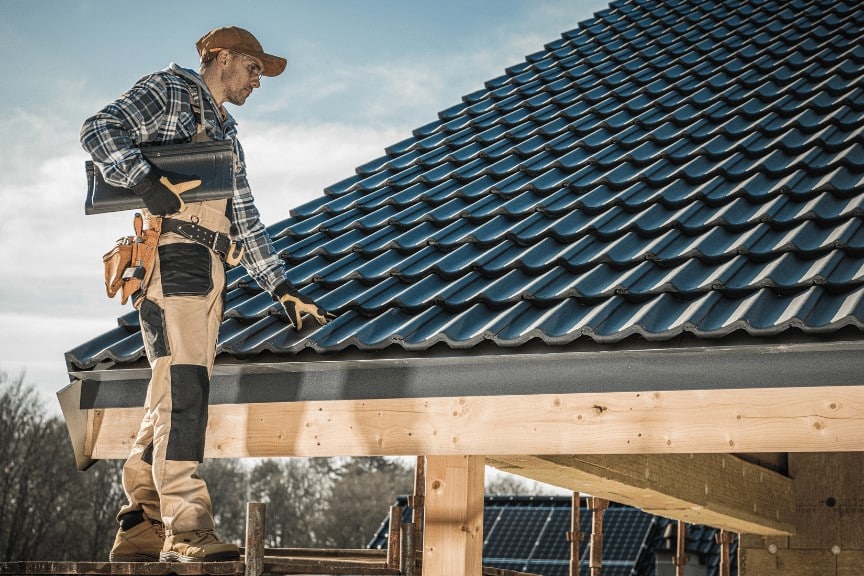
Roof leaks can cause significant damage to your home if not addressed promptly. One of the most effective temporary solutions is using a tarp to cover the affected area. In this blog, we will explore how to stop roof leaks effectively using tarps, the benefits of this method, and the steps involved in the process.
Understanding Roof Leaks and Their Impact
Roof leaks can lead to a range of issues, from water damage to mold growth. Understanding the cause and impact of roof leaks is the first step in effectively addressing them.
- Common Causes of Roof Leaks:
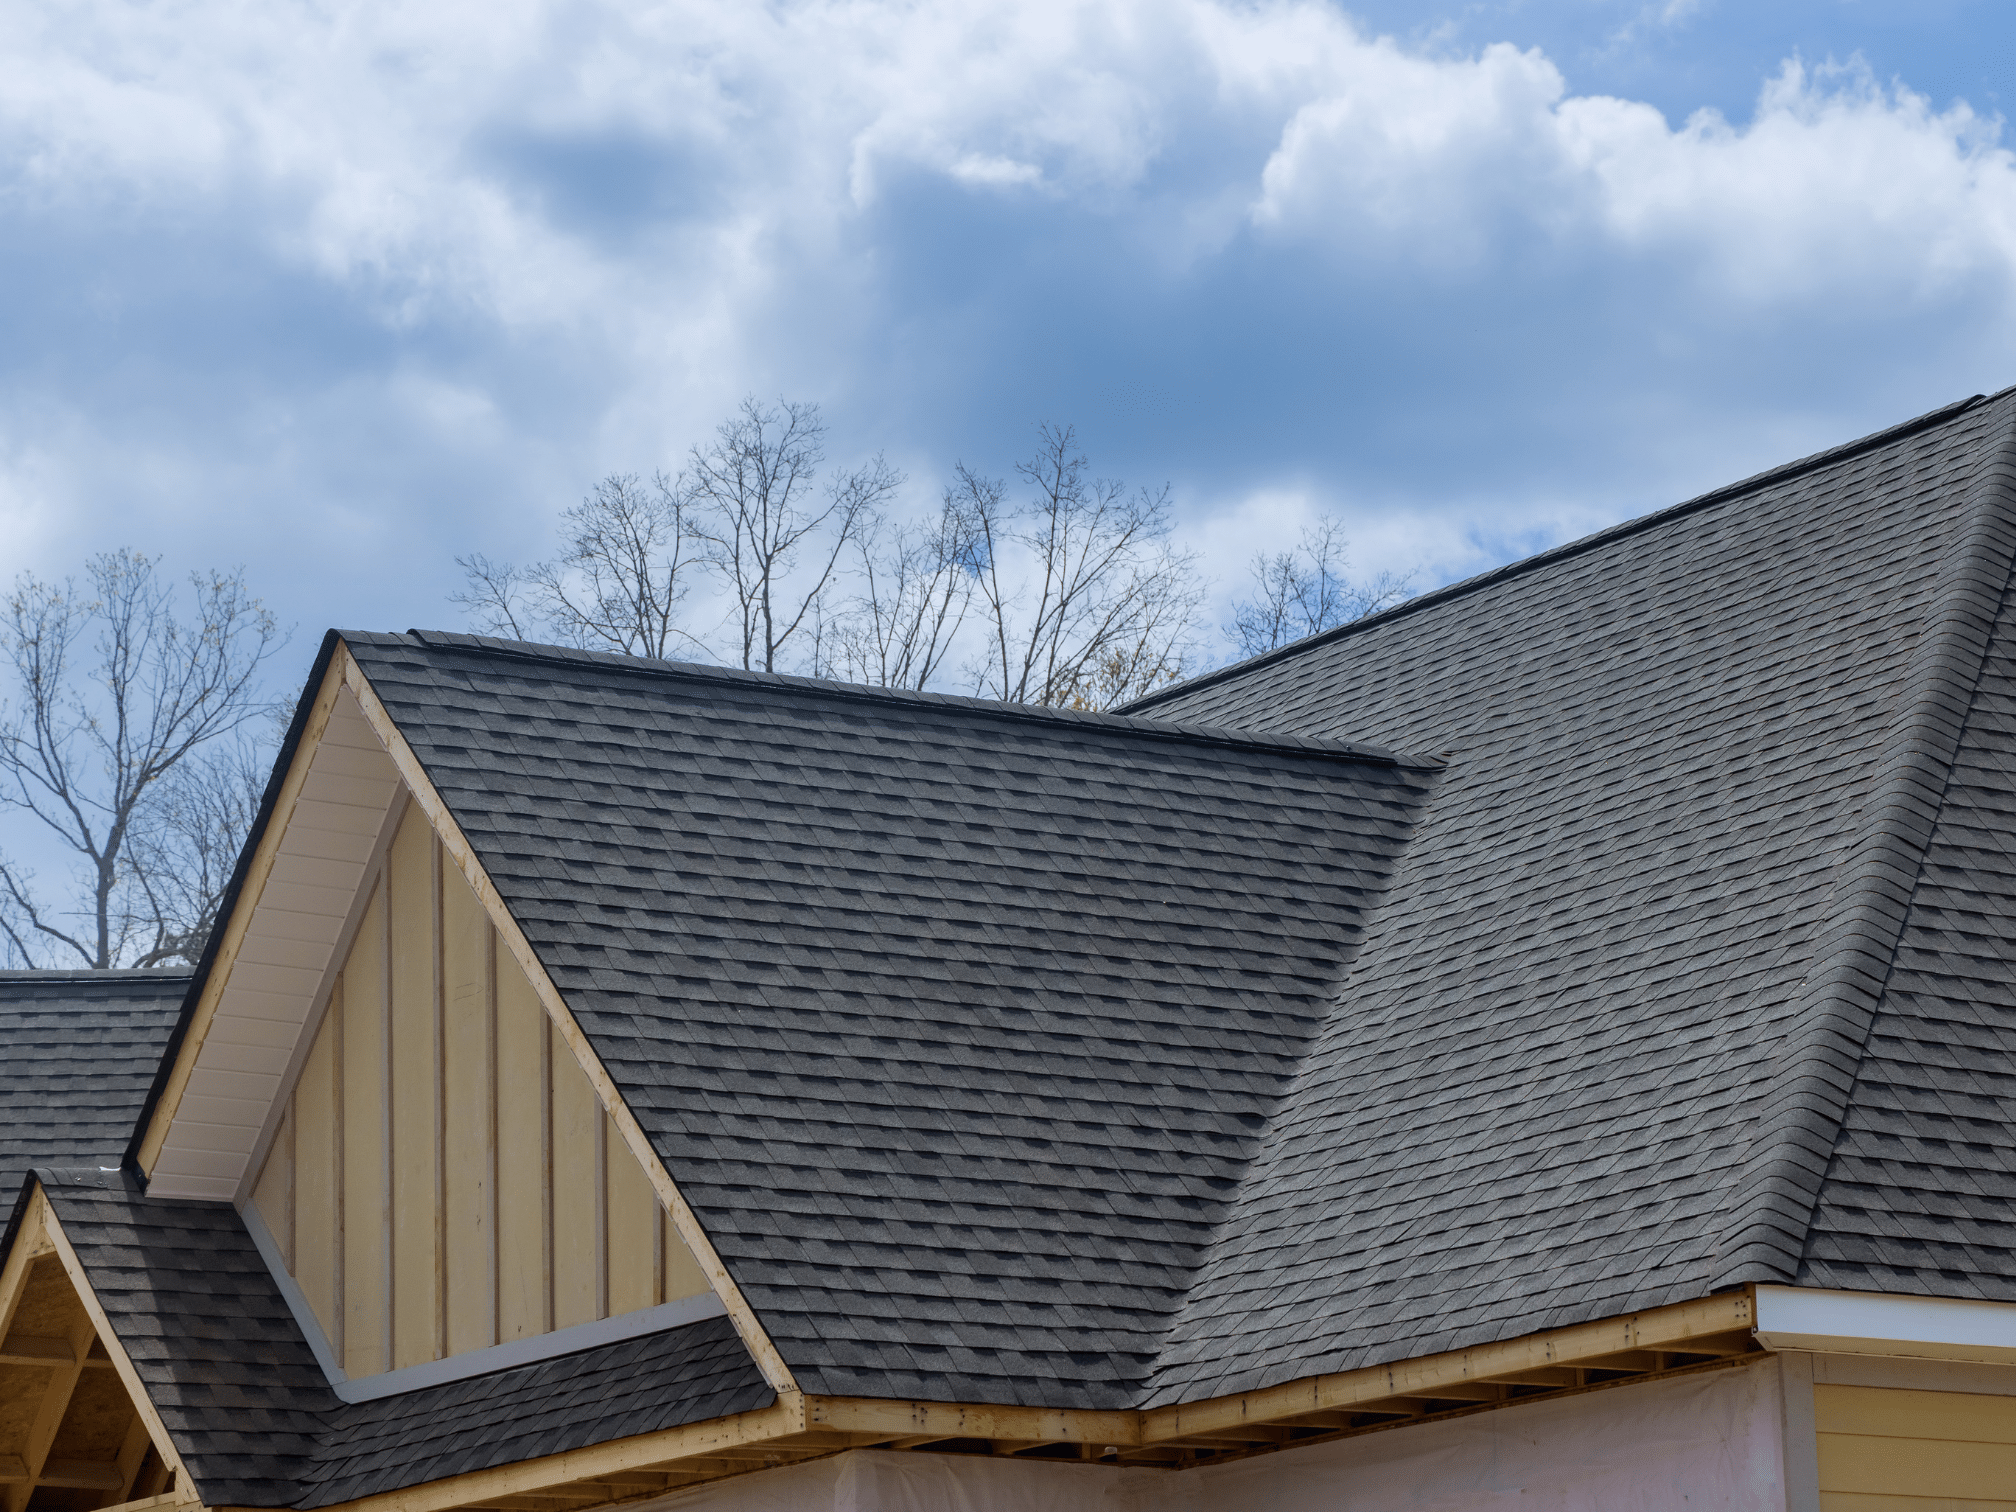
- Damaged shingles
- Improper flashing installation
- Clogged gutters
- Aging roof materials
- Consequences of Unaddressed Leaks:
- Structural damage
- Mold and mildew growth
- Increased energy bills
- Compromised insulation
The Importance of Quick Action to Stop Roof Leaks
When you notice a leak, taking immediate action is crucial to minimize damage. One of the quickest and most cost-effective solutions is using a tarp.
- Why Immediate Action Matters:
- Prevents further water damage
- Protects interior belongings
- Reduces repair costs
- Benefits of Using a Tarp:
- Easy and quick to install
- Provides temporary protection until permanent repairs can be made
- Cost-effective solution for emergency situations
How to Choose the Right Tarp for Roof Leak Protection
Selecting the right tarp is essential for effective roof leak prevention. Here’s what you need to consider:
- Types of Tarps:
- Polyethylene (PE) Tarps: Lightweight and waterproof, ideal for temporary roof leak protection.
- Vinyl Tarps: Durable and resistant to harsh weather conditions, suitable for long-term use.
- Canvas Tarps: Breathable but not waterproof, better for covering materials than stopping leaks.
- Key Features to Look For:
- UV resistance for prolonged outdoor exposure
- Reinforced edges for added durability
- Sufficient size to cover the damaged area adequately
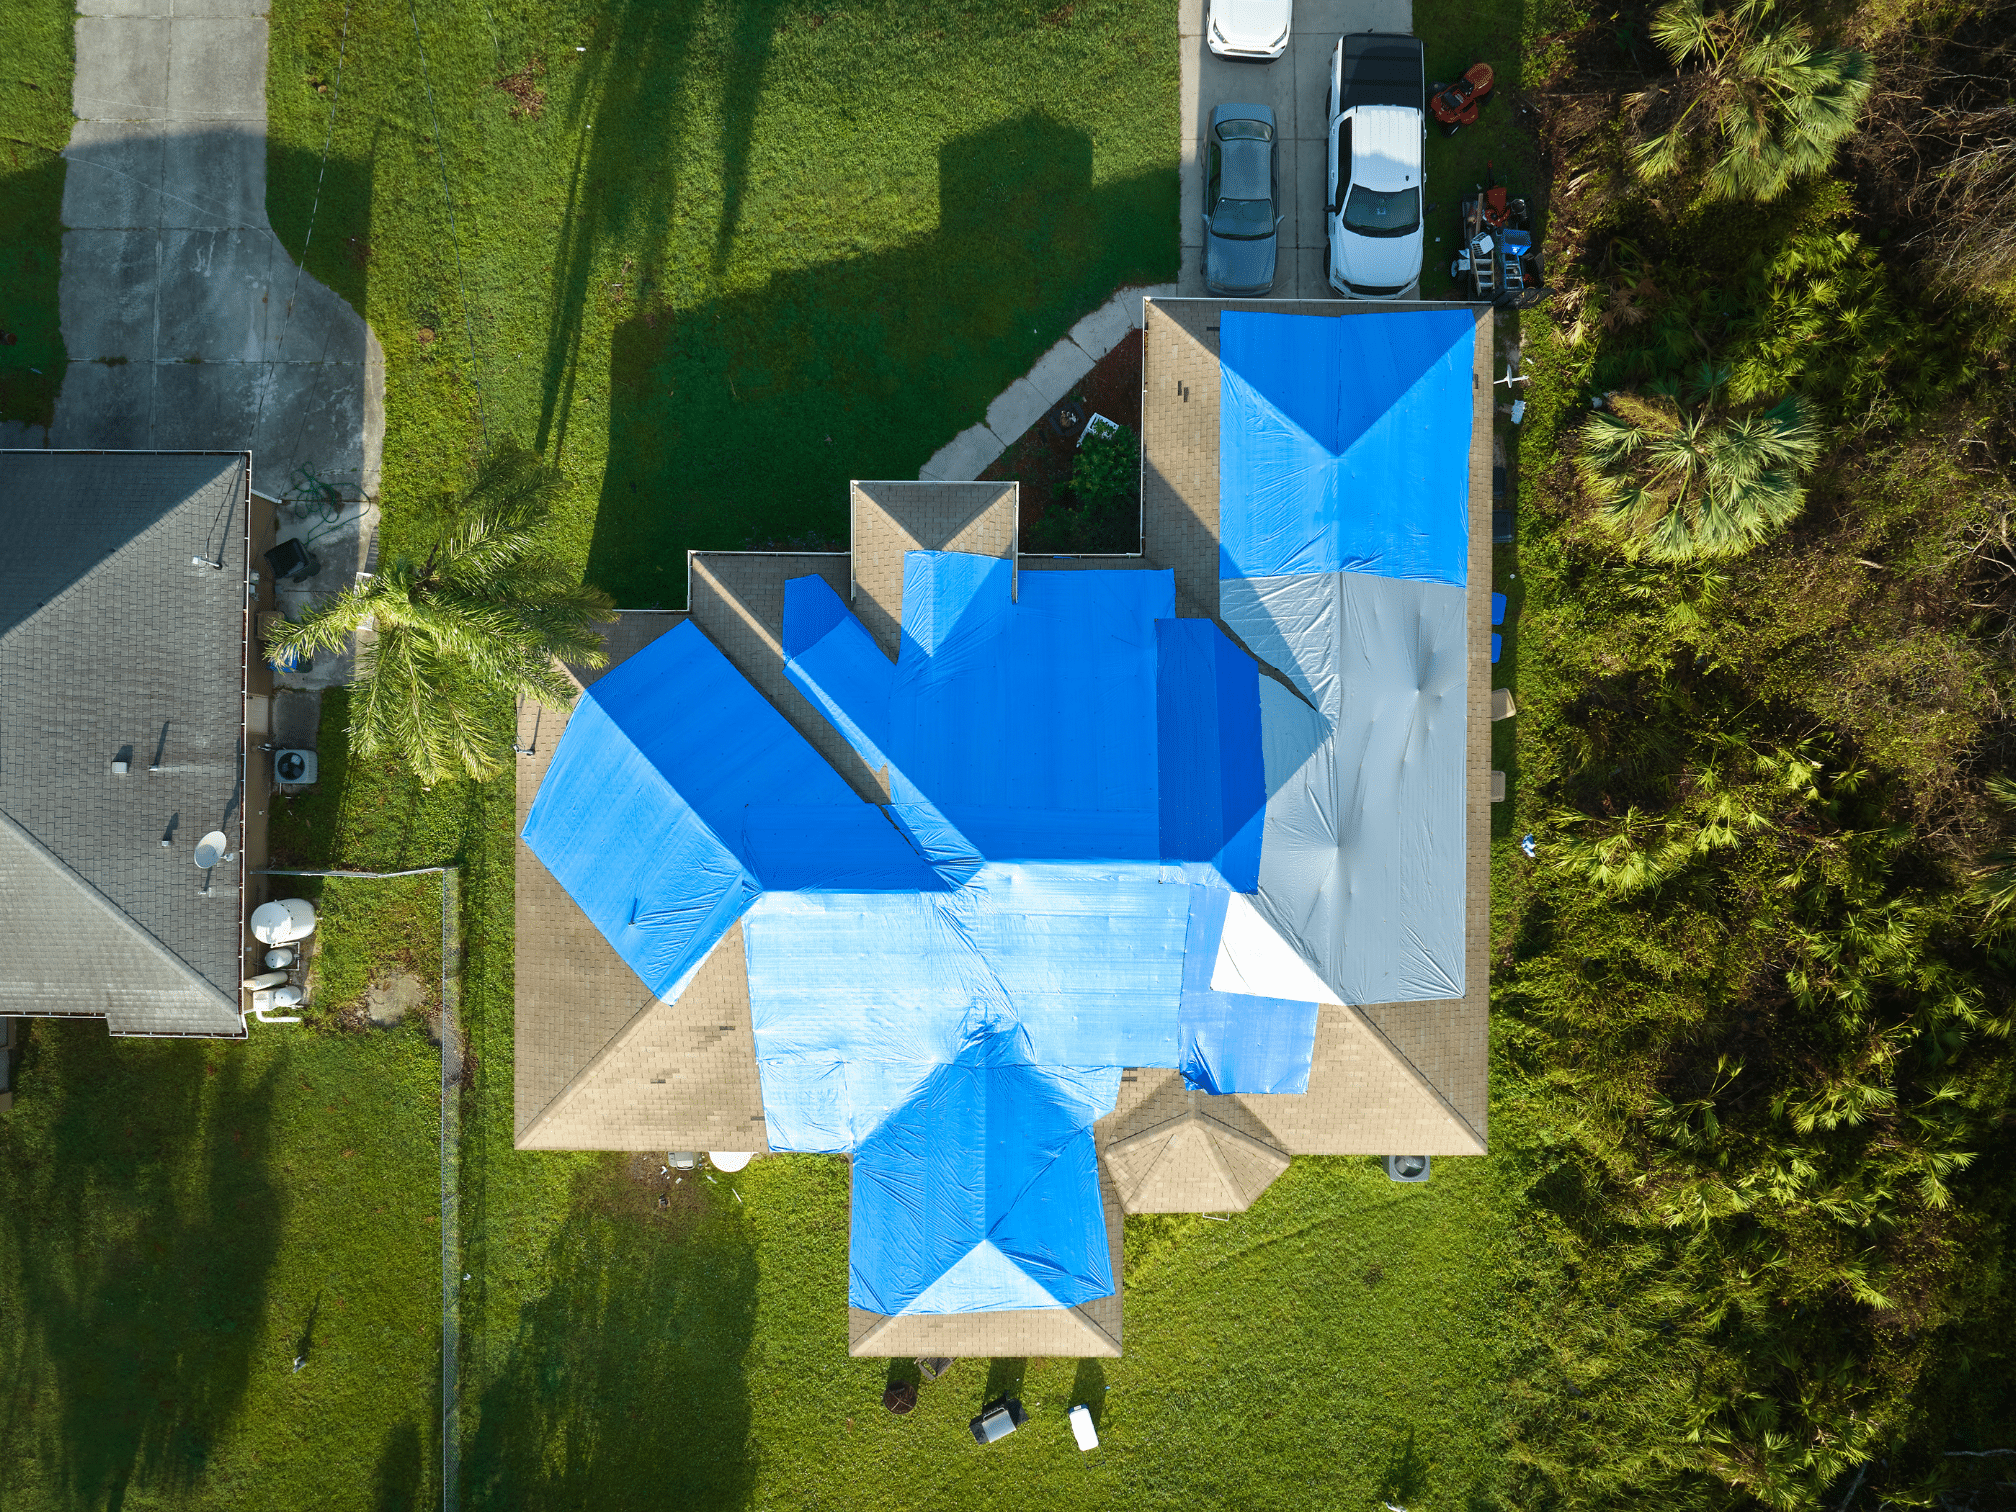
Step-by-Step Guide: How to Stop Roof Leaks Using a Tarp
Stopping a roof leak with a tarp requires careful preparation and installation. Follow these steps for effective protection:
- Assess the Damage:
- Identify the source of the leak and the extent of the damage.
- Measure the area to ensure you choose a tarp large enough to cover it.
- Gather Your Materials:
- Tarp (sized to cover the damaged area with extra to secure)
- Ropes or bungee cords
- Weighted objects (like sandbags) or nails
- Ladder and safety gear
- Prepare the Area:
- Clear the roof of debris and ensure it is dry.
- Place the tarp over the damaged area, allowing it to extend past the leak.
- Secure the Tarp:
- Use ropes or bungee cords to secure the tarp to fixed points on the roof.
- Weigh down the edges with sandbags or nail the tarp to the roof if necessary.
- Monitor and Maintain:
- Regularly check the tarp for signs of wear or displacement.
- Replace or adjust the tarp as needed to ensure continuous protection.
Benefits of Using a Tarp to Stop Roof Leaks
Using a tarp to stop roof leaks offers several advantages, especially in emergency situations. Here are some key benefits:
- Temporary Protection:
- Provides immediate coverage to prevent further damage
- Allows time to schedule professional repairs without rushing
- Cost-Effective Solution:
- Inexpensive compared to full roof repairs
- Saves money by preventing more extensive damage
- Ease of Use:
- Can be installed quickly with minimal tools
- Accessible for homeowners with basic DIY skills
FAQ: Addressing Common Questions About Stopping Roof Leaks
Q1: How long can a tarp be used to stop a roof leak?
A1: A high-quality tarp can last several months, but it’s recommended to seek permanent repairs as soon as possible.
Q2: Will a tarp protect my roof from severe weather?
A2: While tarps provide temporary protection, they are not a substitute for a properly installed roof. Severe weather may compromise the tarp’s effectiveness.
Q3: Can I install a tarp on my roof by myself?
A3: Yes, if you follow safety guidelines and have the necessary materials. However, hiring a professional is advisable for larger or more complicated installations.
Q4: What should I do if my roof continues to leak after installing a tarp?
A4: If the leak persists, it may indicate a more significant issue. Contact a professional roofing contractor to assess and repair the damage.
Q5: How do I know if the tarp is securely installed?
A5: Check that the tarp is tight across the roof with no gaps, sagging, or loose edges. Ensure it is anchored securely with ropes, bungee cords, or nails.
Q6: Are there any alternatives to using a tarp for roof leak protection?
A6: Alternatives include roof sealants or temporary roof patches, but these may not be as effective or versatile as a tarp.