Repairing Roof Shingles: Avoid Costly Damage Today
Repairing roof shingles is a critical component of your home’s defense against the elements. They not only add aesthetic value but also protect the structural integrity of your house. However, shingles can wear out over time, leading to issues that, if left unattended, could result in significant damage. Whether you’re dealing with a small leak or extensive wind damage, understanding how to repair roof shingles is essential to maintaining your home’s value and safety.

1. Understanding Roof Shingles and Their Common Issues
What Are Roof Shingles?
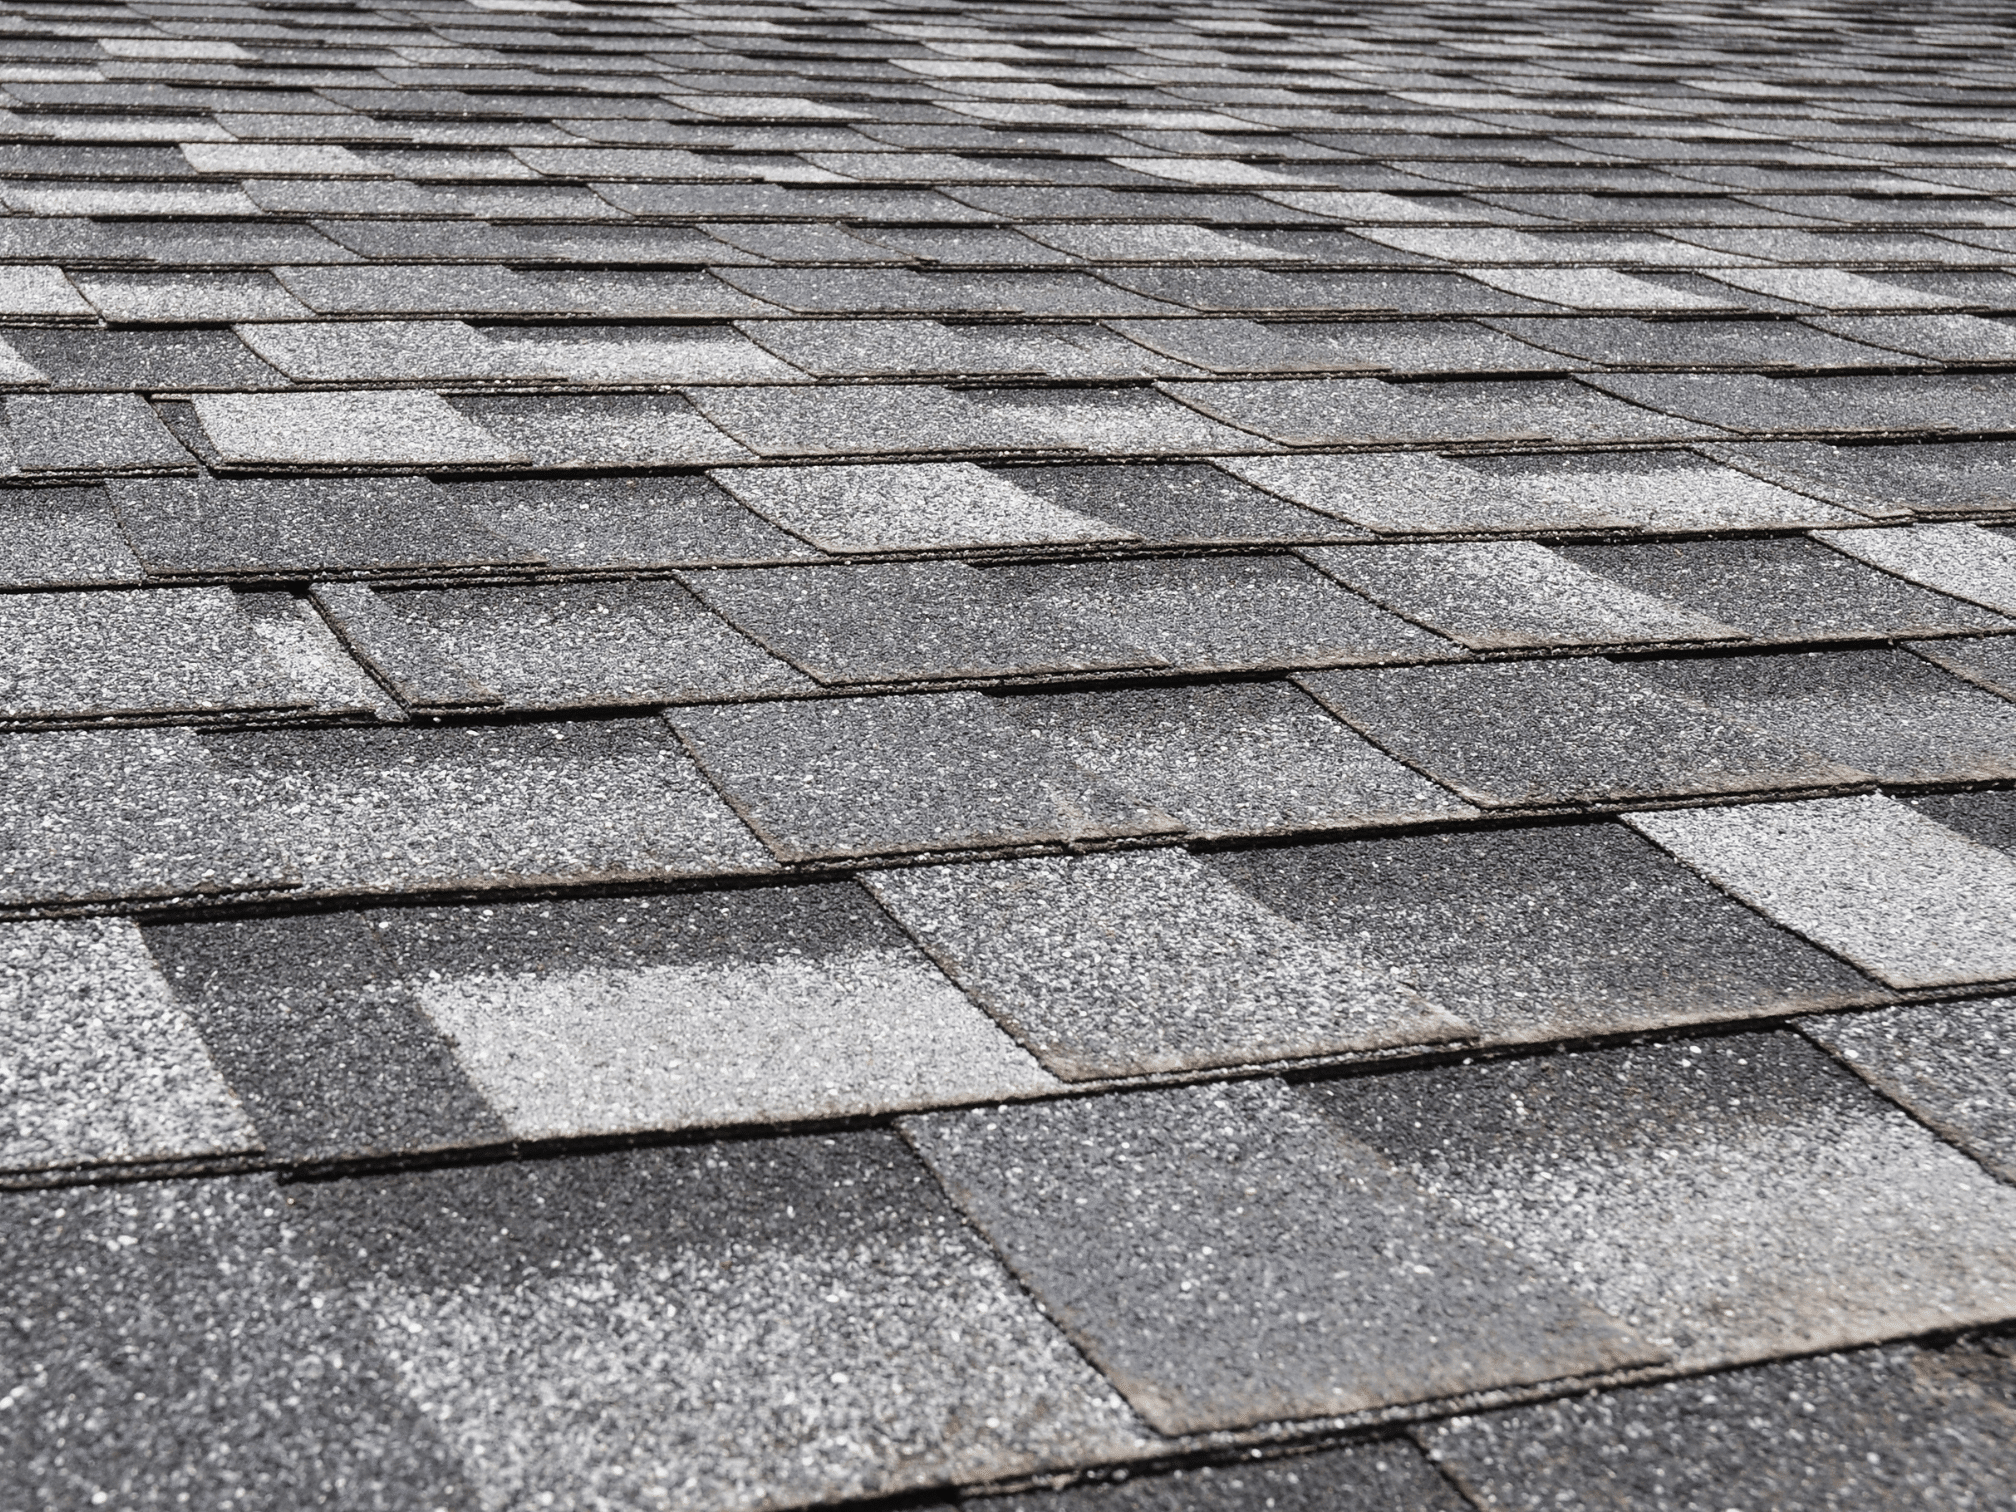
Roof shingles are individual overlapping elements, usually flat and rectangular, that are laid from the bottom edge of the roof up, with each successive layer overlapping the joints below. They are typically made from materials like asphalt, wood, metal, or slate. The primary purpose of shingles is to protect your roof from water, wind, and sun damage, ensuring your home remains dry and secure.
Common Issues with Roof Shingles
Roof shingles are exposed to harsh weather conditions and can suffer from various issues over time. Here are some common problems:
- Curling: Shingles may curl due to aging or poor ventilation.
- Cracking: Extreme temperatures can cause shingles to crack.
- Missing Shingles: High winds or poor installation can lead to shingles being blown off.
- Granule Loss: Asphalt shingles often lose their protective granules as they age, leading to reduced effectiveness.
- Algae Growth: In humid climates, shingles may develop unsightly algae, leading to discoloration and potential degradation.
2. Signs You Need to Repair Your Roof Shingles
Visible Damage
Recognizing the signs of shingle damage early can save you from costly repairs later. Here are some visual cues that indicate it’s time for repairs:
- Missing Shingles: Large patches of missing shingles are a clear sign that your roof needs attention.
- Curling or Buckling: Shingles that appear curled or buckled indicate they are no longer properly secured.
- Granule Accumulation: If you notice granules from your shingles in your gutters, it’s a sign that your shingles are deteriorating.
- Cracks and Tears: Look for visible cracks or tears in the shingles, which can lead to leaks.
- Stains on Ceilings or Walls: Water stains inside your home often point to shingle issues.

Leakages and Water Damage
Water damage is one of the most severe consequences of shingle problems. Here’s what to watch for:
- Water Stains: Dark or discolored spots on your ceilings or walls.
- Mold Growth: A musty smell or visible mold could indicate a hidden roof leak.
- Dripping Water: Active drips during rainstorms are a sure sign of a roof leak.
- Peeling Paint: Moisture seeping through can cause interior paint to peel or blister.
3. DIY vs. Professional Roof Shingle Repair
When to Consider DIY Repair
For minor issues, homeowners with some handyman skills might consider a DIY approach. Here’s when DIY might be appropriate:
- Small Cracks or Holes: If only a few shingles are affected, you might be able to patch them yourself.
- Loose Shingles: Re-securing a couple of loose shingles can be a simple DIY task.
- Replacing a Single Shingle: If one shingle is damaged, replacing it is straightforward with the right tools.
However, DIY repairs should only be attempted if you’re comfortable working at heights and have the necessary tools. Always prioritize safety.
When to Call a Professional
For more extensive damage or if you’re unsure of the repair process, it’s best to call a professional. Here’s when professional help is necessary:
- Large Areas of Damage: When more than a small section of your roof is affected.
- Complex Repairs: Issues like roof valleys, chimney flashing, or intricate designs require professional expertise.
- Recurring Leaks: If leaks persist after DIY repairs, it’s time to call in a pro.
- High Roofs or Steep Slopes: Safety is paramount. Professionals have the equipment and experience to work safely on challenging roofs.
4. Steps to Repairing Roof Shingles
Safety First
Before you begin any roof repair, it’s crucial to take safety precautions:
- Use Proper Equipment: Always wear non-slip shoes and a safety harness.
- Work on a Dry Day: Never attempt roof repairs in wet or windy conditions.
- Ladder Safety: Ensure your ladder is stable and on solid ground.
- Buddy System: If possible, have someone assist or at least monitor you while you’re on the roof.
Removing Damaged Shingles
If you’ve identified damaged shingles that need replacement, follow these steps:
- Loosen the Adhesive: Use a flat pry bar to gently lift the shingles around the damaged one, breaking the seal.
- Remove Nails: Carefully lift the damaged shingle and remove the nails holding it in place. Keep them aside if they are still in good condition.
- Slide Out the Shingle: Once the nails are removed, slide the damaged shingle out.
- Check the Underlayment: Before installing the new shingle, inspect the underlayment for any damage and repair it if necessary.
Sealing and Securing New Shingles
Once the damaged shingle is removed, you can install the replacement:
- Position the New Shingle: Slide the new shingle into place, aligning it with the other shingles.
- Nail the Shingle: Secure the shingle with galvanized roofing nails. Ensure the nails are driven straight and flush with the shingle surface, but not so tight that they cut into the shingle.
- Seal the Shingle: Apply a dab of roofing cement under the shingle tabs to secure them to the shingles below.
- Check the Alignment: Ensure the new shingle is aligned properly with the others, both vertically and horizontally.
5. Preventing Future Roof Shingle Issues
Regular Maintenance Tips
Regular maintenance is key to extending the life of your roof shingles. Here are some tips:
- Annual Inspections: Schedule an annual inspection to catch issues early.
- Clean Gutters: Ensure gutters are clear of debris to prevent water backup and shingle damage.
- Trim Overhanging Branches: Overhanging branches can scrape shingles or allow moss to grow.
- Check for Moss and Algae: Regularly check and treat your roof for moss and algae, which can deteriorate shingles over time.
- Sealant Touch-Ups: Reapply roofing sealant to shingles as needed to maintain their adhesion and waterproofing.
The Importance of Professional Inspections
Even with regular maintenance, it’s wise to have a professional inspect your roof periodically. Here’s why:
- Early Detection of Issues: Professionals can spot small problems before they become major repairs.
- Expert Advice: They can recommend specific maintenance actions tailored to your roof’s material and condition.
- Long-Term Cost Savings: Regular inspections can extend your roof’s lifespan, saving you money in the long run.
FAQs
How often should I inspect my roof shingles?
It’s recommended to inspect your roof shingles at least once a year, preferably in the spring or fall. Additionally, check your roof after severe weather events to ensure there’s no damage.
Can I repair roof shingles in cold weather?
While it’s possible to repair shingles in cold weather, it’s more challenging. Shingles become brittle in low temperatures, making them more likely to crack. It’s best to wait for a warmer day, if possible.
What are the costs involved in repairing roof shingles?
The cost of repairing roof shingles can vary depending on the extent of the damage, the type of shingles, and whether you hire a professional. DIY repairs for minor issues may cost as little as $50, while professional repairs can range from $200 to $1,000 or more.
How long does a roof shingle repair last?
A well-executed shingle repair can last as long as the surrounding shingles, typically 15-30 years, depending on the material and environmental factors. Regular maintenance can help ensure repairs last longer.
Conclusion
Repairing roof shingles is a crucial part of maintaining your home’s integrity. By addressing minor issues promptly and ensuring regular maintenance, you can extend the life of your roof and avoid costly repairs. Whether you choose to tackle minor repairs yourself or call in a professional for more extensive work, understanding the process will help you keep your home protected and looking its best.

 (832) 944-7663


