Expert Guide to Repairing Roof Shingles at Home
When it comes to maintaining your home’s roof, knowing how to repair roof shingles is essential for preventing leaks and extending the life of your roof. At Sugar Land Roofing, we believe in empowering homeowners with the knowledge they need to tackle minor repairs confidently. This comprehensive guide to repairing roof will walk you through the process of repairing roof shingles, ensuring that your roof remains in top condition.

Guide to Repairing Roof Shingles
Roof shingles are the protective layer on your roof that shields your home from the elements. Over time, exposure to harsh weather conditions can cause shingles to crack, curl, or even blow off, leaving your roof vulnerable to leaks and water damage.
1. Preparing for the Repair
Before you start any repairs, it’s important to gather the necessary tools and materials. Here’s what you’ll need:
- Tools: Hammer, utility knife, pry bar, roofing nails, caulking gun, and a ladder.
- Materials: Replacement shingles, roofing cement, and sealant.
Step 1: Safety First
Ensure that you have a stable ladder and safety gear, including gloves and safety glasses. It’s best to work on a dry, calm day to avoid accidents.
Step 2: Assess the Damage
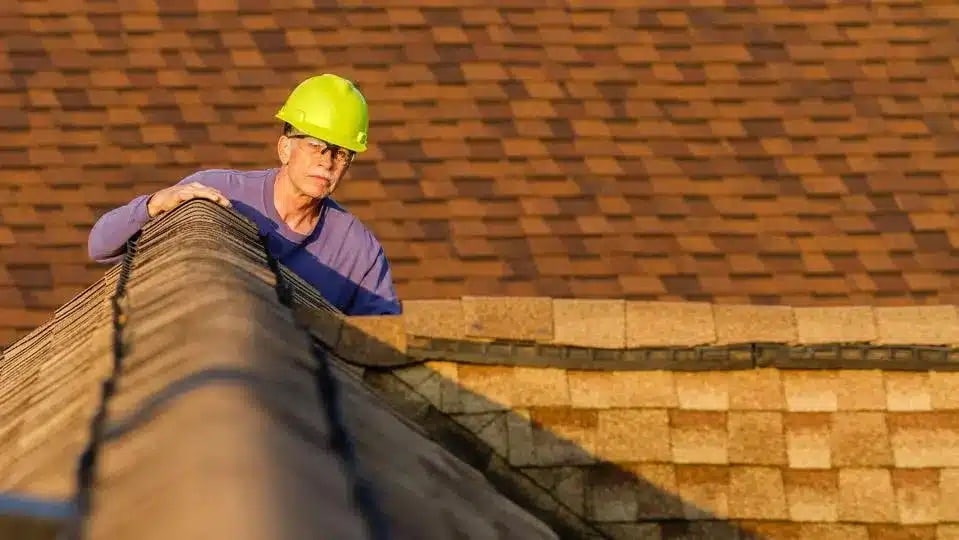
Inspect the area of your roof that needs repair. Look for cracked, curled, or missing shingles. If more than 20% of your roof shingles are damaged, it might be time to consider a full roof replacement instead of a repair.
Step 3: Remove the Damaged Shingles
Use a pry bar to carefully lift the shingles above the damaged one. This will expose the nails holding the damaged shingle in place. Remove these nails and slide the damaged shingle out.

2. Installing the Replacement Shingles
Once the damaged shingles are removed, the next step is to install the new ones.
Step 4: Cut the Replacement Shingle
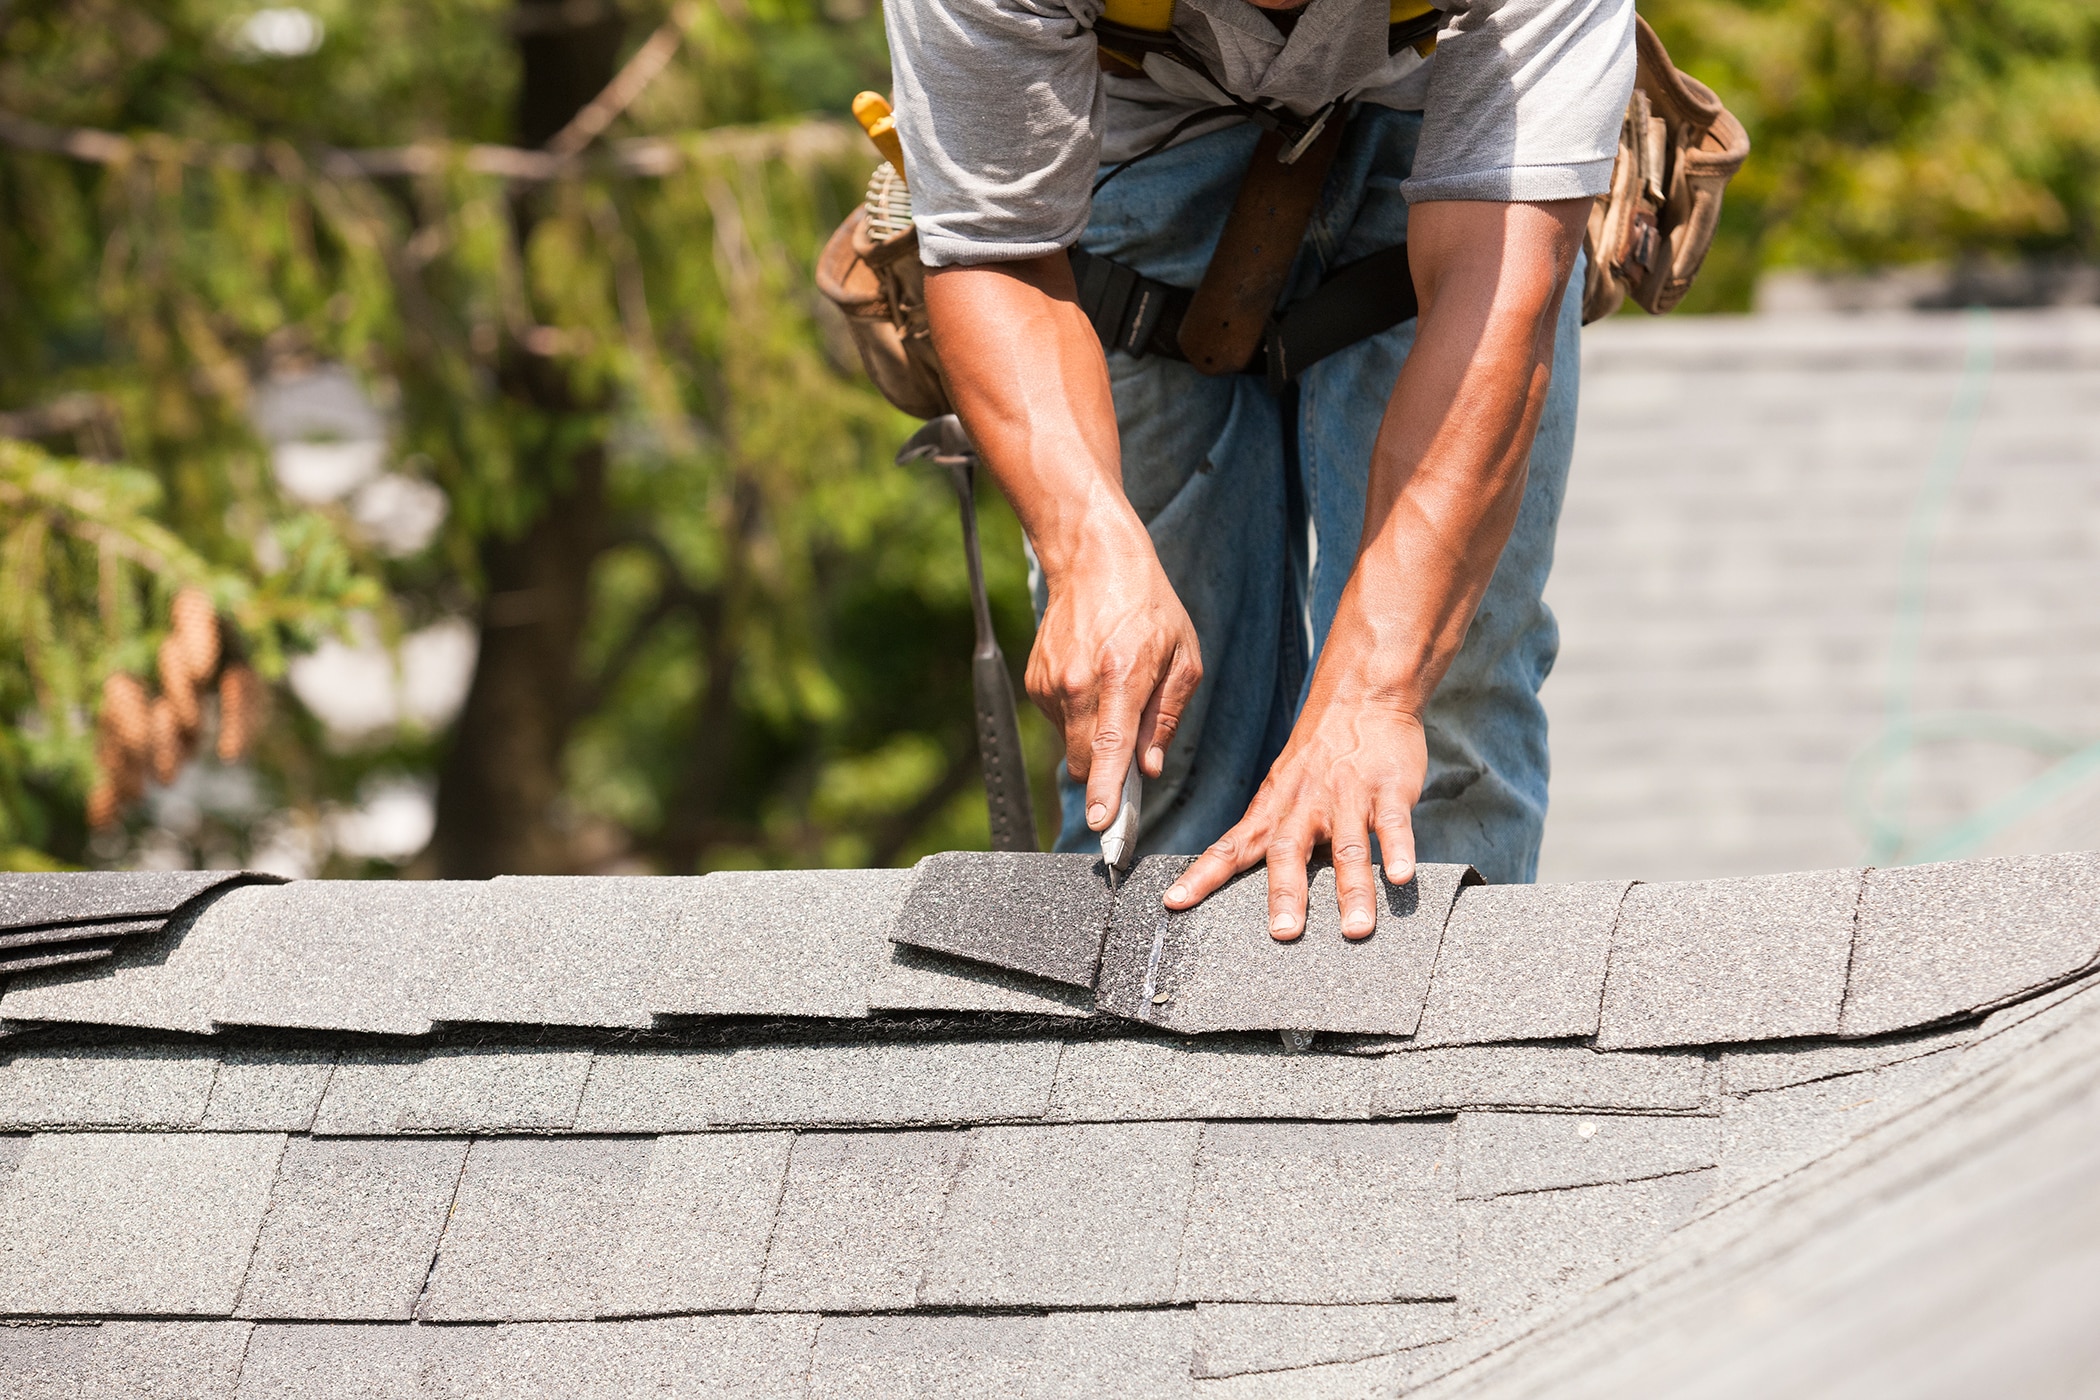
If the replacement shingle is too large, use a utility knife to cut it to size. Ensure it fits perfectly into the space left by the damaged shingle.
Step 5: Position the New Shingle
Slide the new shingle into place, making sure it aligns with the surrounding shingles. The bottom edge should be in line with the other shingles on the roof.
Step 6: Nail the Shingle Down
Secure the new shingle with roofing nails. Place the nails just below the adhesive strip of the shingle, and ensure they are flush with the surface but not cutting into the shingle.
Step 7: Seal the Shingle
Apply roofing cement or sealant under the edges of the new shingle to secure it in place and prevent wind from lifting it. Press down firmly to ensure a strong bond.
3. Repairing Curled Shingles
Curled shingles are a common issue, especially in older roofs. These can easily catch the wind and be torn off, leading to more significant damage.
Step 8: Soften the Shingles
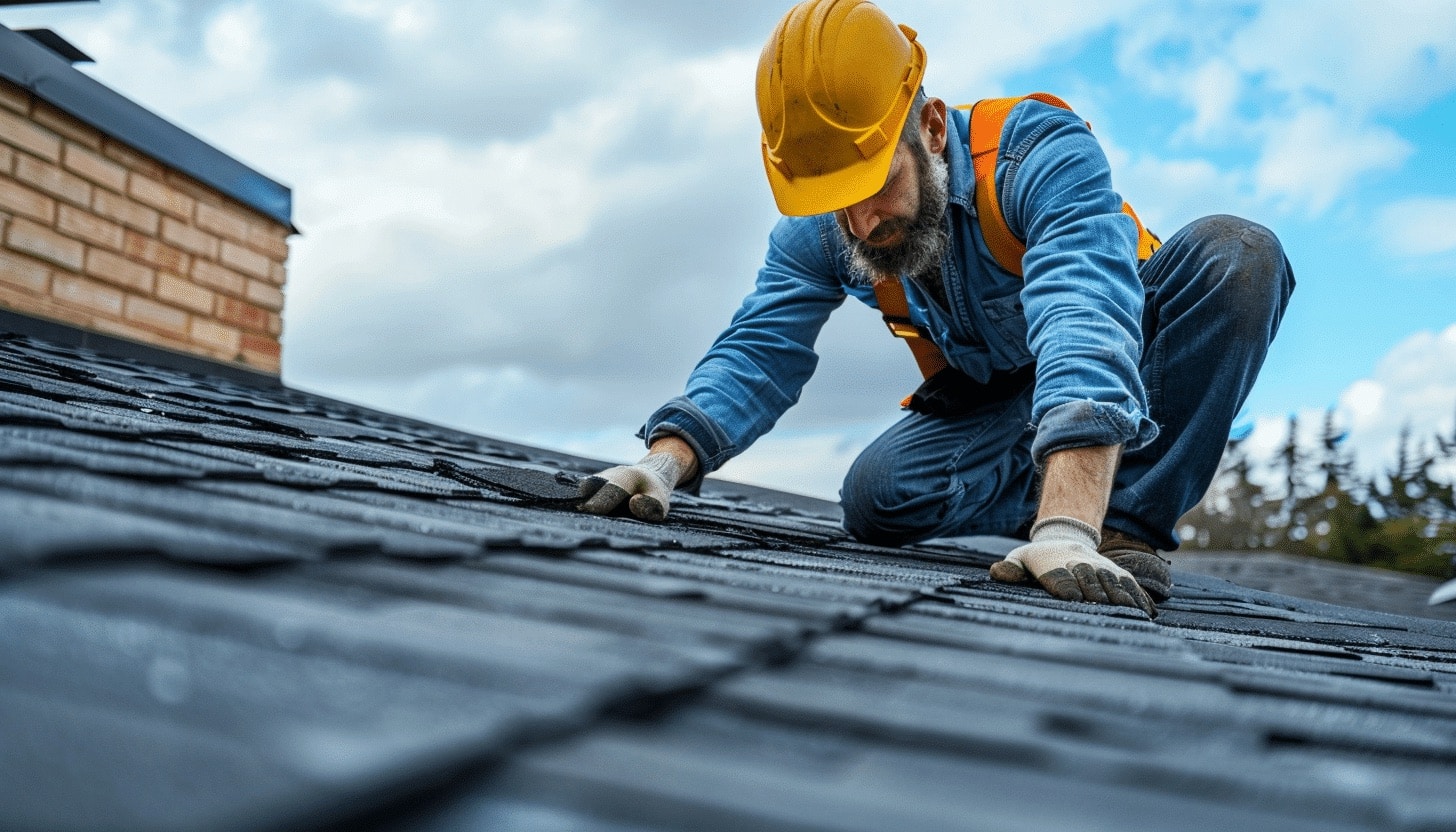
Gently lift the curled shingles and apply roofing cement under each corner. If the shingles are too stiff, use a heat gun to soften them slightly, making them easier to manipulate.
Step 9: Secure the Shingles
Press the shingle down and hold it in place for a few seconds to allow the cement to adhere. Nail the shingle down if necessary, and cover the nail heads with sealant to prevent leaks.

4. Handling Cracked Shingles
Cracked shingles can be repaired without replacing them entirely, depending on the extent of the damage.
Step 10: Apply Roofing Cement
Spread a layer of roofing cement under the crack, then press the shingle down. Apply another layer of cement on top of the crack and spread it out evenly.
Step 11: Reinforce with a Patch
For larger cracks, cut a patch from a new shingle and cement it over the crack. This will provide additional protection and prevent water from seeping through.
5. Replacing Missing Shingles
If a shingle is missing, it’s crucial to replace it as soon as possible to avoid water damage.
Step 12: Clean the Area
Before placing the new shingle, clean the area thoroughly to ensure that it adheres properly. Remove any debris or old roofing cement.
Step 13: Install the New Shingle
Follow the same steps as in installing replacement shingles. Make sure the new shingle matches the color and pattern of the existing shingles for a uniform appearance.
6. Post-Repair Inspection
After completing the repairs, it’s important to conduct a thorough inspection to ensure everything is secure and sealed properly.
Step 14: Check for Loose Shingles
Walk around your roof (if safe to do so) and gently tug on the shingles you repaired. They should be firmly attached without any movement.
Step 15: Inspect the Roof’s Surface
Look for any gaps or exposed nails that could cause future leaks. Apply additional sealant as needed.
Step 16: Clean Up
Remove all debris, old shingles, and tools from the roof. This not only leaves your workspace tidy but also prevents potential hazards.

7. Regular Roof Maintenance
To prolong the life of your roof and avoid frequent repairs, regular maintenance is key.
Tip 1: Schedule Regular Inspections
Inspect your roof at least twice a year, especially after major storms. Look for signs of wear and tear, and address any issues promptly.
Tip 2: Keep Gutters Clean
Clogged gutters can cause water to back up under your shingles, leading to leaks. Clean your gutters regularly to ensure proper water drainage.
Tip 3: Trim Overhanging Branches
Branches can scrape against shingles, causing damage. Trim any branches that hang over your roof to prevent this.
8. Conclusion
Repairing roof shingles is a task that many homeowners can handle with the right tools and guidance. However, it’s important to recognize when a repair is beyond your skill level. In such cases, contacting a professional roofing company like Sugar Land Roofing is the best course of action. We offer expert roof repair services that ensure your home is protected from the elements.
FAQs
Q1: How often should I inspect my roof for damage?
A: It’s recommended to inspect your roof at least twice a year, particularly in the spring and fall, and after severe weather events.
Q2: Can I repair roof shingles myself?
A: Yes, minor repairs like fixing cracked or curled shingles can be done by homeowners. However, for extensive damage, it’s advisable to hire a professional.
Q3: How long does a roof shingle repair last?
A: A well-executed shingle repair can last several years, but it depends on the quality of the materials used and the severity of the weather conditions in your area.
Q4: What should I do if I notice a leak in my roof?
A: If you notice a leak, it’s crucial to address it immediately. Temporarily cover the area with a tarp and contact a roofing professional for repairs.
Q5: Is it better to repair or replace my roof?
A: If more than 20% of your roof is damaged or it’s nearing the end of its lifespan, a full replacement might be more cost-effective than continuous repairs.
For expert roof repair services, contact Sugar Land Roofing today at (832) 944-7663 or visit our website for more information. We’re here to help you keep your roof in optimal condition.

 (832) 944-7663